
Roofs rarely fail all at once. More often, small vulnerabilities accumulate until they show up as stains on the ceiling after a hard rain. Two of the most common culprits are nail pops and hairline shingle cracks. Both look minor from the ground, yet both can channel water into the roof deck and insulation if they sit unattended. A careful homeowner or property manager can handle many of these repairs with the right approach, and a good shingle roofing contractor will tell you that a meticulous five minutes spent on one nail can save you thousands down the road.
This guide distills field experience from shingle roof inspections and hundreds of small leak calls. It explains why nail pops happen, how minor cracks form, when a quick fix is enough, and when you should put away the caulk gun and call a pro. It also shares practical details like product choices, temperatures that actually work, and small techniques that make a big difference in durability.
What nail pops really mean
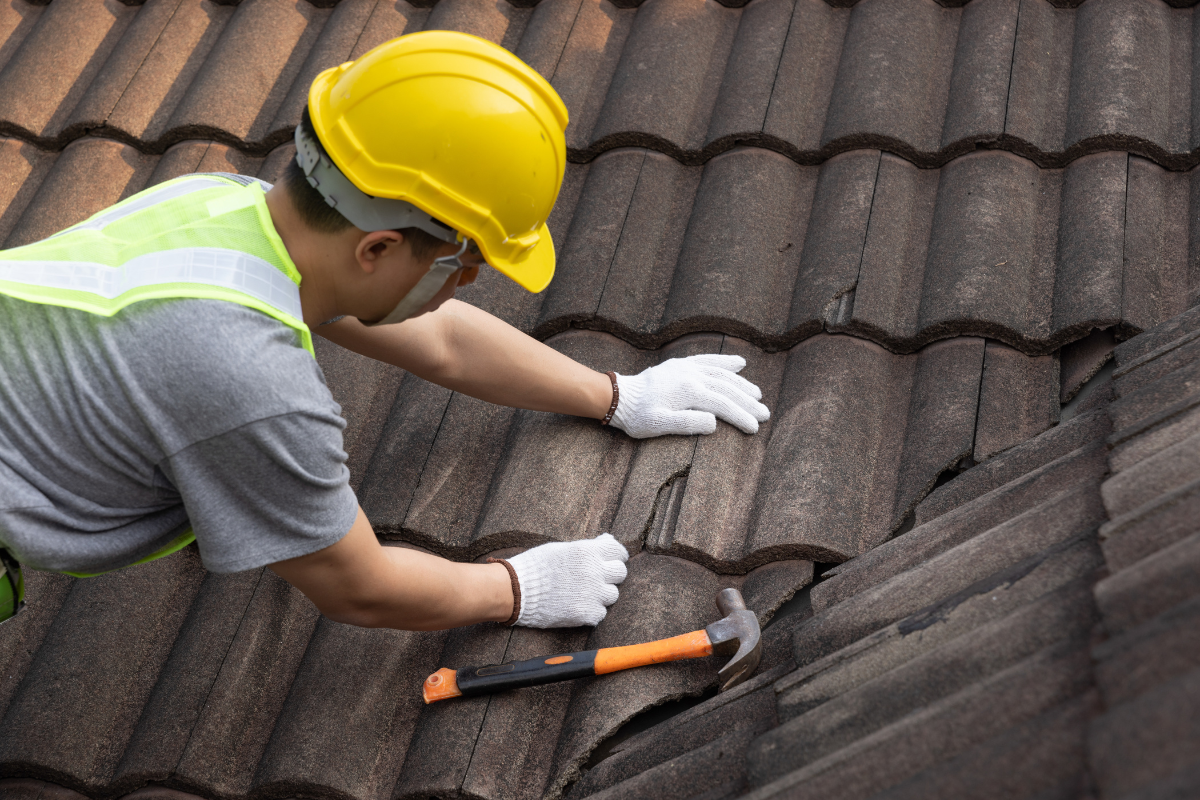
A nail pop occurs when a roofing nail backs out from the deck and pushes up against the shingle above it. Sometimes you see a small round bump in the shingle surface, sometimes an exposed nail head gleaming in the sun. Either way, the fastener is no longer holding the shingle flush to the roof deck.
Nails back out for a handful of reasons. The most common one is deck movement. Plywood or OSB expands and contracts with moisture and temperature, especially if the attic isn’t well ventilated. Over time, that movement can loosen nails that were set marginally high during the original roof shingle installation. If the installer missed the shingle’s reinforced nail line or used too few nails, those shingles are especially vulnerable. Another factor is fastener choice. Electro-galvanized nails rust faster than hot-dipped galvanized, and rust reduces holding power. In the rare case, a nail hits a knot or a gap between deck boards and never seats correctly, so it works loose early in the roof’s life.
A pop is more than a cosmetic issue. Water follows gravity, but it also follows tension along surfaces. A raised nail head can prop open a shingle, break the seal strip, and create a tiny inlet. Wind-driven rain finds that inlet every time.
Minor cracks and where to expect them
Shingles can crack for different reasons, and the fix depends on the cause. Thermal cycling is the most common source on older roofs. As shingles heat and cool, asphalt ages and loses flexibility, so small splits form, usually above the granule-rich surface. Impact can create crescent-shaped cracks, typically from hail or fallen debris. Manufacturing defects exist, though they’re less common than internet forums suggest; they tend to appear as parallel cracks along the same course.
You’ll often see cracks near ridges, hips, and valleys where shingles flex more. On south and west slopes, UV exposure accelerates aging. If granule loss is widespread and many shingles feel brittle, sealing cracks becomes a temporary patch, not a cure. At that stage, it’s time to weigh partial roof shingle replacement against ongoing spot repairs.
The stakes after a storm season
The first heavy rain after a warm spell often triggers a wave of leak calls. Homeowners report stains around bathroom fans and light fixtures. A typical inspection finds three to ten nail pops and a few short cracks around vents. The nails and the cracks didn’t appear overnight. They simply crossed the threshold where they finally let in enough water to become visible indoors. Addressing these small points early reduces the odds you’ll be chasing a leak into a wall cavity.
Safety and timing matter more than the caulk
The best product in the world won’t help if you slide off the roof. Footing and weather windows determine quality. Work on a dry day with moderate temperatures, ideally between 50 and 80 degrees Fahrenheit. Above that range, shingles can scuff and soften; below it, sealants get stiff and bonding suffers. Early morning is good in summer, after dew evaporates and before shingles heat up. In winter, sunny afternoons are safer than frosty mornings.
Shoes with clean, soft soles grip better than hard-tread boots. Keep tools on a tether or in a pouch so you’re not bending and reaching off balance. If the slope exceeds 6 in 12, use a roof harness. If you’re not sure, hire a shingle roofing contractor. The price of a service call beats a hospital bill every time.
Tools and materials that actually work
For sealing and small re-adhesion tasks, use a high-quality roofing cement or an elastomeric roof sealant approved for asphalt shingles. Traditional asphaltic cement in a quart can still has a place, but many pros prefer solvent-free elastomeric sealants for crack repairs because they remain flexible longer and don’t bleed through as easily in heat. A 10-ounce cartridge and a standard caulk gun cover most small jobs.
Use a flat bar with a thin profile to gently lift shingles without tearing them. Keep a roofing hammer or a standard hammer, a handful of 1.25 to 1.5 inch hot-dipped galvanized roofing nails, and a utility knife with a sharp hook blade. A handful of matching shingle tabs helps if you find more extensive damage mid-repair.
One caution with color: any sealant exposed to sun attracts dust and can show as a dark smear. When appearance matters, tuck the sealant under the shingle surface and use only a fingertip amount at edges.
How to fix a nail pop the right way
Nail pops are tempting to smack back down and smear with cement. That shortcut often fails within a season. The better method takes a minute longer but lasts.
- Step-by-step process for a durable nail pop repair: 1) Locate the pop and lift the edge of the overlying shingle with your flat bar just enough to access the nail. 2) Remove the raised nail entirely. If it won’t pull, lever it out with the bar. Inspect the hole. If the nail hit a deck gap or feels stripped, shift your new fastener an inch or two to solid wood. 3) Drive a new hot-dipped galvanized roofing nail into the proper nailing zone, snug but not overdriven. You should see the nail head seat flush without sinking. 4) Place a small dab of roofing sealant over the old nail hole and over the new nail head. 5) Press the lifted shingle back down. If the factory seal strip no longer sticks, apply a pea-sized dot of sealant under the shingle in two spots and weight it lightly with your hand for a few seconds.
Two discipline points make these repairs last. First, respect the shingle’s nailing line. Manufacturers put reinforcement there for a reason. Second, don’t overuse sealant. Excess can keep shingles from laying flat, trap heat, and create messy dust lines.
Sealing minor shingle cracks without making a mess
Hairline cracks often run an inch or two, sometimes longer, usually along a ridge of granules. The goal is to create a waterproof bridge without telegraphing the repair from the ground.
Clean the area first. Lightly brush off loose granules and dust. If the crack has curled edges, warm the area with sunlight and gently flatten it by hand. Apply a thin bead of elastomeric sealant directly over the crack. Then, while the sealant is still tacky, press a pinch of loose granules into the surface. You can harvest these from an inconspicuous area in a gutter or from the shingle bundle if you have leftovers. The granules hide the sheen and protect the sealant from UV, which extends its life.
For cracks near the tab edge, tuck the sealant under the shingle rather than on top when possible. Lift the tab carefully, run a small bead under the crack path, and lay the tab back down. A little goes a long way. If you see squeeze-out, you used too much. Wipe it back with a plastic putty knife before it skins.
If the crack runs into a fastener line or spans more than half the tab, you’re past the point of a cosmetic fix. At that stage, insert a replacement shingle or section of shingle. That usually means loosening the course above, removing nails systematically, sliding in a new piece, and renailing according to the pattern. https://johnnypivy654.almoheet-travel.com/roof-shingle-repair-addressing-granule-loss-and-aging-1 Experienced hands can swap a tab in ten minutes, but it is easy to break adjacent seals if you rush.
Typical pitfalls and how to avoid them
Most failed shingle roof repair patches share one or more of these issues. The nails were re-driven into the same stripped hole. The sealant was applied on a cold day and never bonded. The shingle above was pried too far and cracked at the seal strip. Or the roofs were simply dirty, so the adhesive stuck to dust instead of asphalt. Work deliberately. Use the least force necessary to lift a shingle. Keep the work area clean as you go.
Another pitfall is mixing incompatible products. Silicone caulks often do not adhere long term to asphalt surfaces and can repel future coatings. Generic “construction adhesive” is not a substitute for roofing sealant. Read the tube. If it is not stated for asphalt shingles, put it back.
Finally, beware of chasing one leak while ignoring the system. If an attic lacks intake or exhaust ventilation, heat builds under the deck, nails back out faster, and seal strips fail prematurely. A little repair may stop today’s drip, but the roof will keep aging poorly. When you see six or more pops in a small area, ask why. That pattern suggests deck movement or fastener layout issues, not random chance.
A short, smart maintenance routine
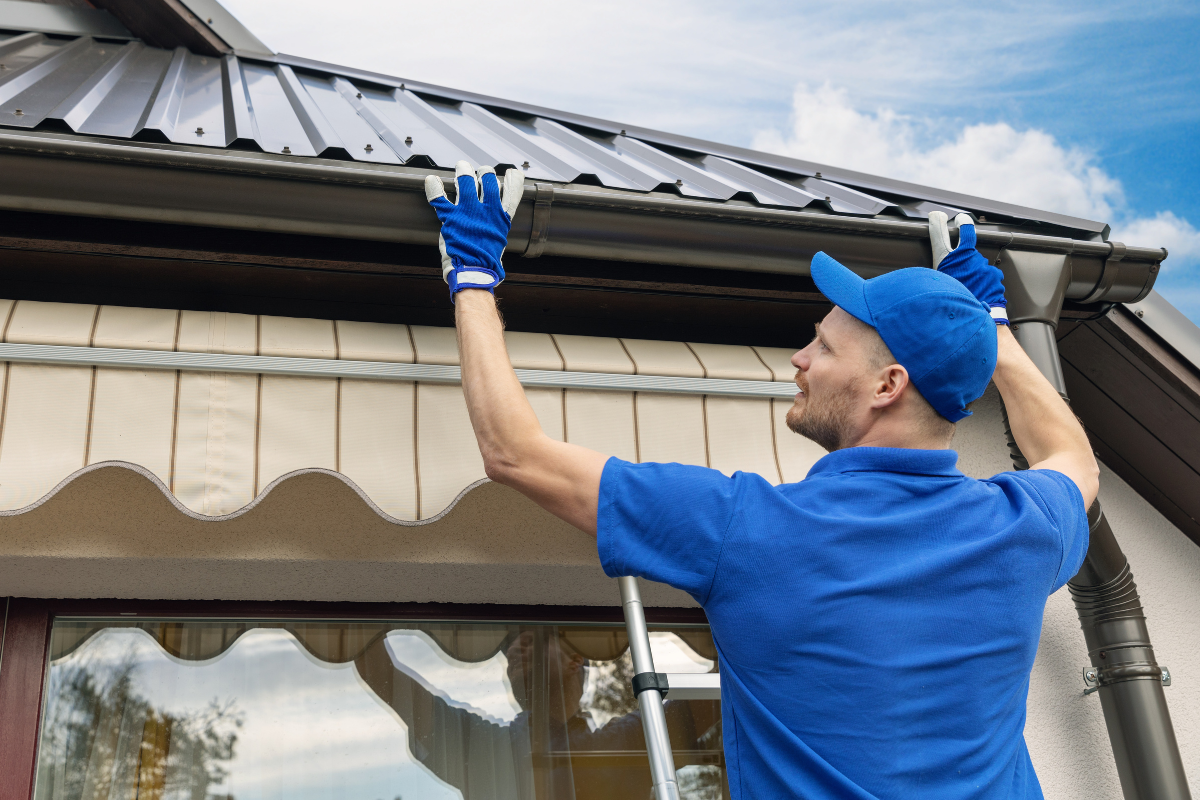
A shingle roof that gets a little regular attention outlasts one that never sees a ladder until something breaks. After a major wind event or seasonal change, a quick scan from the ground with binoculars is often enough to spot lifted tabs, missing shingles, or exposed nails. If you go up, be gentle. Brooms beat pressure washers every time. Dislodge small branches, clear leaves from valleys, and make sure gutters flow freely. Water backing up at the eaves finds its way under even well-sealed courses.
Professional eyes matter too. Many shingle roofing contractors offer annual or biannual inspections at a modest cost. They’ll check penetrations around stacks, vents, and skylights, reseal where needed, and document areas to watch. If you plan to handle your own small fixes, a pro’s walkthrough once a year can validate your approach and point out systemic issues like inadequate attic ventilation or aging flashing.
When a small repair isn’t enough
Rule of thumb from years on roofs: if you see isolated nail pops every 10 to 15 feet, spot repairs make sense. If you count more than a dozen on a single slope, expect repeat visits unless you address the cause. Similarly, a few hairline cracks are nor